Installing CKAN from package
This section describes how to install CKAN from package. This is the quickest and easiest way to install CKAN, but it requires Ubuntu 18.04 (Python 2) or 20.04 (Python 3 or Python 2) 64-bit. If you’re not using any of these Ubuntu versions, or if you’re installing CKAN for development, you should follow Installing CKAN from source instead.
At the end of the installation process you will end up with two running web applications, CKAN itself and the DataPusher, a separate service for automatically importing data to CKAN’s DataStore extension. Additionally, there will be a process running the worker for running Background jobs. All these processes will be managed by Supervisor.
For Python 3 installations, the minimum Python version required is 3.6.
- Ubuntu 20.04 includes Python 3.8 as part of its distribution
- Ubuntu 18.04 includes Python 3.6 as part of its distribution
Host ports requirements:
Service Port Used for NGINX 80 Proxy uWSGI 8080 Web Server uWSGI 8800 DataPusher Solr/Jetty 8983 Search PostgreSQL 5432 Database Redis 6379 Search
1. Install the CKAN package
On your Ubuntu system, open a terminal and run these commands to install CKAN:
Update Ubuntu’s package index:
sudo apt update
Install the Ubuntu packages that CKAN requires (and ‘git’, to enable you to install CKAN extensions):
sudo apt install -y libpq5 redis-server nginx supervisor
Note
If you want to install CKAN 2.9 running on Python 2 for backwards compatibility, you need to also install the Python 2 libraries:
# On Ubuntu 18.04
sudo apt install python2 libpython2.7

# On Ubuntu 20.04
sudo apt install libpython2.7
Download the CKAN package:
On Ubuntu 18.04:
wget https://packaging.ckan.org/python-ckan_2.9-bionic_amd64.deb
On Ubuntu 20.04, for Python 3 (recommended):
wget https://packaging.ckan.org/python-ckan_2.9-py3-focal_amd64.deb
On Ubuntu 20.04, for Python 2:
wget https://packaging.ckan.org/python-ckan_2.9-py2-focal_amd64.deb
Install the CKAN package:
On Ubuntu 18.04:
sudo dpkg -i python-ckan_2.9-bionic_amd64.deb
On Ubuntu 20.04, for Python 3:
sudo dpkg -i python-ckan_2.9-py3-focal_amd64.deb
On Ubuntu 20.04, for Python 2:
sudo dpkg -i python-ckan_2.9-py2-focal_amd64.deb
2. Install and configure PostgreSQL
Tip
You can install PostgreSQL and CKAN on different servers. Just change the sqlalchemy.url setting in your /etc/ckan/default/ckan.ini file to reference your PostgreSQL server.
Note
The commands mentioned below are tested for Ubuntu system
Install PostgreSQL, running this command in a terminal:
sudo apt install -y postgresql
| orphan: |
|---|
Note
If you are facing a problem in case postgresql is not running,
execute the command sudo service postgresql start
Check that PostgreSQL was installed correctly by listing the existing databases:
sudo -u postgres psql -l
Check that the encoding of databases is UTF8, if not you might find issues later
on with internationalisation. Since changing the encoding of PostgreSQL may mean
deleting existing databases, it is suggested that this is fixed before continuing with
the CKAN install.
Next you’ll need to create a database user if one doesn’t already exist. Create a new PostgreSQL user called ckan_default, and enter a password for the user when prompted. You’ll need this password later:
sudo -u postgres createuser -S -D -R -P ckan_default
Create a new PostgreSQL database, called ckan_default, owned by the database user you just created:
sudo -u postgres createdb -O ckan_default ckan_default -E utf-8
Note
If PostgreSQL is run on a separate server, you will need to edit postgresql.conf and pg_hba.conf. On Ubuntu, these files are located in etc/postgresql/{Postgres version}/main.
Uncomment the listen_addresses parameter and specify a comma-separated list of IP addresses of the network interfaces PostgreSQL should listen on or ‘*’ to listen on all interfaces. For example,
listen_addresses = 'localhost,192.168.1.21'
Add a line similar to the line below to the bottom of pg_hba.conf to allow the machine running the web server to connect to PostgreSQL. Please change the IP address as desired according to your network settings.
host all all 192.168.1.22/32 md5
Edit the sqlalchemy.url option in your CKAN configuration file (/etc/ckan/default/ckan.ini) file and set the correct password, database and database user.
3. Install and configure Solr
Tip
You can install Solr and CKAN on different servers. Just change the solr_url setting in your /etc/ckan/default/ckan.ini /etc/ckan/default/production.ini file to reference your Solr server.
Install Solr, running this command in a terminal:
sudo apt install -y solr-tomcat
| orphan: |
|---|
CKAN uses Solr as its search platform, and uses a customized Solr schema file that takes into account CKAN’s specific search needs. Now that we have CKAN installed, we need to install and configure Solr.
Warning
CKAN supports Solr 8. Starting from CKAN 2.10 this is the only Solr version supported. CKAN 2.9 can run with Solr 8 as long as it is patched to at least 2.9.5. CKAN 2.9 can also run against Solr 6 but this is not recommended as this Solr version does no longer receive security updates.
There are two supported ways to install Solr.
- Using CKAN’s official Docker images. This is generally the easiest one and the recommended one if you are developing CKAN locally.
- Installing Solr locally and configuring it with the CKAN schema. You can use this option if you can’t or don’t want to use Docker.
Installing Solr using Docker
You will need to have Docker installed. Please refer to its installation documentation for details.
There are pre-configured Docker images for Solr for each CKAN version. Make sure to pick the image tag that matches your CKAN version (they are named ckan/ckan-solr:<Major version>.<Minor version>). To start a local Solr service you can run:
docker run --name ckan-solr -p 8983:8983 -d ckan/ckan-solr:2.9-solr8
You can now jump to the Next steps section.
Installing Solr manually
Download the latest supported version from the Solr downloads page. CKAN supports Solr version 8.x.
Extract the downloaded file to your desired location (adjust the Solr version number to the one you are using):
tar xzf solr-8.11.0.tgz
Change into the extracted directory:
cd solr-8.11.0/
Start Solr:
bin/solr start
Create a new core for CKAN:
bin/solr create -c ckan
Replace the standard schema located in
server/solr/ckan/conf/managed-schemawith the CKAN one:wget -O server/solr/ckan/conf/managed-schema https://raw.githubusercontent.com/ckan/ckan/master/ckan/config/solr/schema.xml
Todo
Switch to |current_release_tag| when we branch dev-v2.10
Restart Solr:
bin/solr restart
Next steps with Solr
To check that Solr started you can visit the web interface at http://localhost:8983/solr
Warning
The two installation methods above will leave you with a setup that is fine for local development, but Solr should never be exposed publicly in a production site. Pleaser refer to the Solr documentation to learn how to secure your Solr instance.
If you followed any of the instructions above, the CKAN Solr core will be available at http://localhost:8983/solr/ckan. If for whatever reason you ended up with a different one (eg with a different port, host or core name), you need to change the solr_url setting in your CKAN configuration file (/etc/ckan/default/ckan.ini) to point to your Solr server, for example:
solr_url=http://my-solr-host:8080/solr/ckan-2.9
4. Update the configuration and initialize the database
Edit the CKAN configuration file (/etc/ckan/default/ckan.ini) to set up the following options:
- site_id
Each CKAN site should have a unique
site_id, for example:ckan.site_id = default
- site_url
Provide the site’s URL. For example:
ckan.site_url = http://demo.ckan.org
Initialize your CKAN database by running this command in a terminal:
sudo ckan db init
Optionally, setup the DataStore and DataPusher by following the instructions in DataStore extension.
Also optionally, you can enable file uploads by following the instructions in FileStore and file uploads.
5. Start the Web Server and restart Nginx
Reload the Supervisor daemon so the new processes are picked up:
sudo supervisorctl reload
After a few seconds run the following command to check the status of the processes:
sudo supervisorctl status
You should see three processes running without errors:
ckan-datapusher:ckan-datapusher-00   RUNNING   pid 1963, uptime 0:00:12
ckan-uwsgi:ckan-uwsgi-00             RUNNING   pid 1964, uptime 0:00:12
ckan-worker:ckan-worker-00           RUNNING   pid 1965, uptime 0:00:12
If some of the processes reports an error, make sure you’ve run all the previous steps and check the logs located in /var/log/ckan for more details.
Restart Nginx by running this command:
sudo service nginx restart
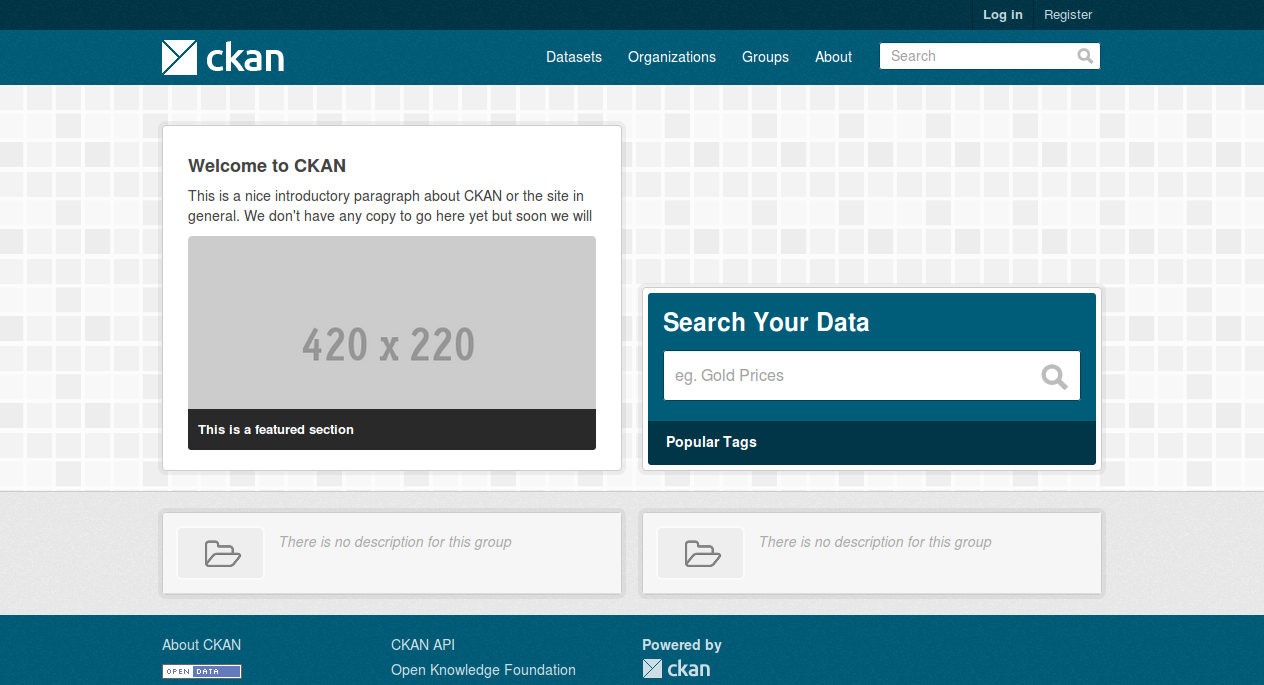
6. You’re done!
Open http://localhost in your web browser. You should see the CKAN front page, which will look something like this:
You can now move on to Getting started to begin using and customizing your CKAN site.
Note
The default authorization settings on a new install are deliberately restrictive. Regular users won’t be able to create datasets or organizations. You should check the Organizations and authorization documentation, configure CKAN accordingly and grant other users the relevant permissions using the sysadmin account.